|
|

|
|
All use of my digital work is covered by this
Creative Commons Deed.
Please do not use any of my work for commercial purposes, thank you. |
|
|
|
|
Rock Wall Detail (3 of 4)
|

|
|

|
|
|
|
|
 |
|
|
|
 |
|
It is worthwhile double checking that the transition template fits perfectly between the
old and new templates.
Setup both old and new templates next to each other and then put the transition
template between the two. It should be a perfect fit with no gaps or alignment problems.
Remember to store these templates somewhere safe in the map so that you can use them for
creating or changing existing brushwork.
It is far easier to change brushwork with axially aligned templates than trying to fix
brushwork which has been cut up into its final position.
|
|
|
|
|
 |
|
|
|
|
Here's something I prepared earlier ...
|
|
|
|
|
|
|
|
|
|
|
|
 |
|
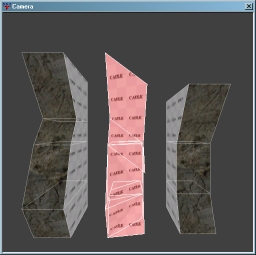
Take the new template and create a small section of rock wall which will be used to replace
existing brushwork. Remember this does not need to be a whole new corridor just something
to break up the existing wall pattern.
In this example I created 3 new template sections and then put a copy of the old template on
each end.
Remember to vary the up/down and in/out direction of the new template so that its not
in a complete straight line. Twisting templates around was covered in the previous
article.
|
|
|
|
|
|
|
|
|
|
|
|
|
|
|
|
 |
|
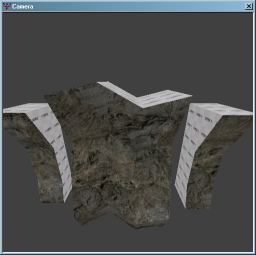
Make a copy of the transition template and then move it into place between the old and new
templates. Always work on a copy of the template so that you have something to go back to
if there is any problems.
Remember to line up the transition template to the old template first, so that you only have to
shear the segments into place on one side.
Shear each transition segment into position so that it is lined up with the new template. As each
segment is still stored as a square brush (Axially aligned) it should not cause any problems
with the brush being damaged or corrupt.
|
|
|
|
|
|
|
|
|
|
|
|
|
|
|
|
 |
|
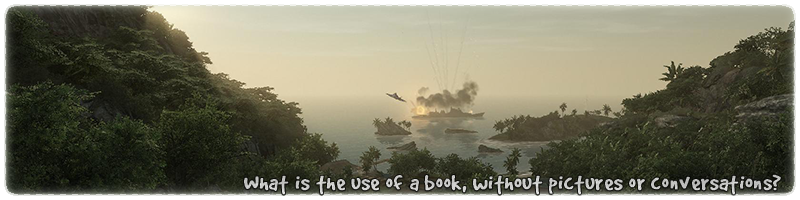
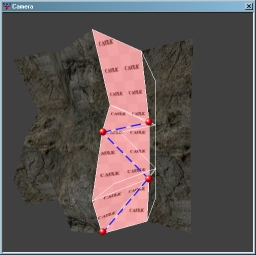
Once the transition template is in place it will need to be cut into triangular
shapes. Based on how the template was created the image to the side shows where to cut
the brushes so that they fit together neatly.
Switch to the 2d view which shows the front of the brushwork and select each square brush
in turn. Cut along the relevant blue dotted line using the red dots as clipping point markers to
create the correct shape.
(The top brush does not need to be cut)
If you are not familiar with 2 point clipping then please look at the following
article. It covers all the different aspects of 2 point
clipping and all the various terminology used.
|
|
|
|
|
|
|
|
|
|
Mirror Mirror on the toolbar!
|
|
|
|
|
|
|
|
|
|
|
|
 |
|
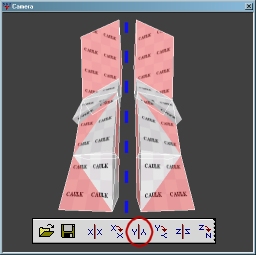
To create the transition template to go the opposite way can be done very quick and easy with
various buttons on the GTK toolbar. All the 3D axes have buttons to either rotate by
90 degree's or mirror any selection.
Take a copy of the transition template and select the Y axis mirror button as highlighted in
the image to the side. Then rotate the brushwork by 180 degree's on the Z axis. Press
the Z axis rotation button twice to get the brushwork into the final position.
Once the opposite transition template has been created, follow the steps above to shear and
cut the template into the correct position. This is the final template to complete the
rock wall detail.
|
|
|
|
|
|
|
|
|
|